Posted on

African Wax Fabric – Ankara

Good Morning,

It’s been a while and life has been quite challenging but we soldier on doing what we love doing best – being creative.

New in stock – African wax fabric, Ankara. Ankara - African WaxSuper Wax Designer Print
Very Fashionable modern while traditional – West African inspired fabric.
Made primarily from Cotton with Polyester. Lightly starched.
Elegant patterns and beautiful colours consequently making it perfect for bag making, casual and occasional wear.
The Perfect blend of African Culture, Art & Modern life.

Below are some Ankara ideas:

Contact us for more information: admin@patchandmixcrafts.com

Posted on

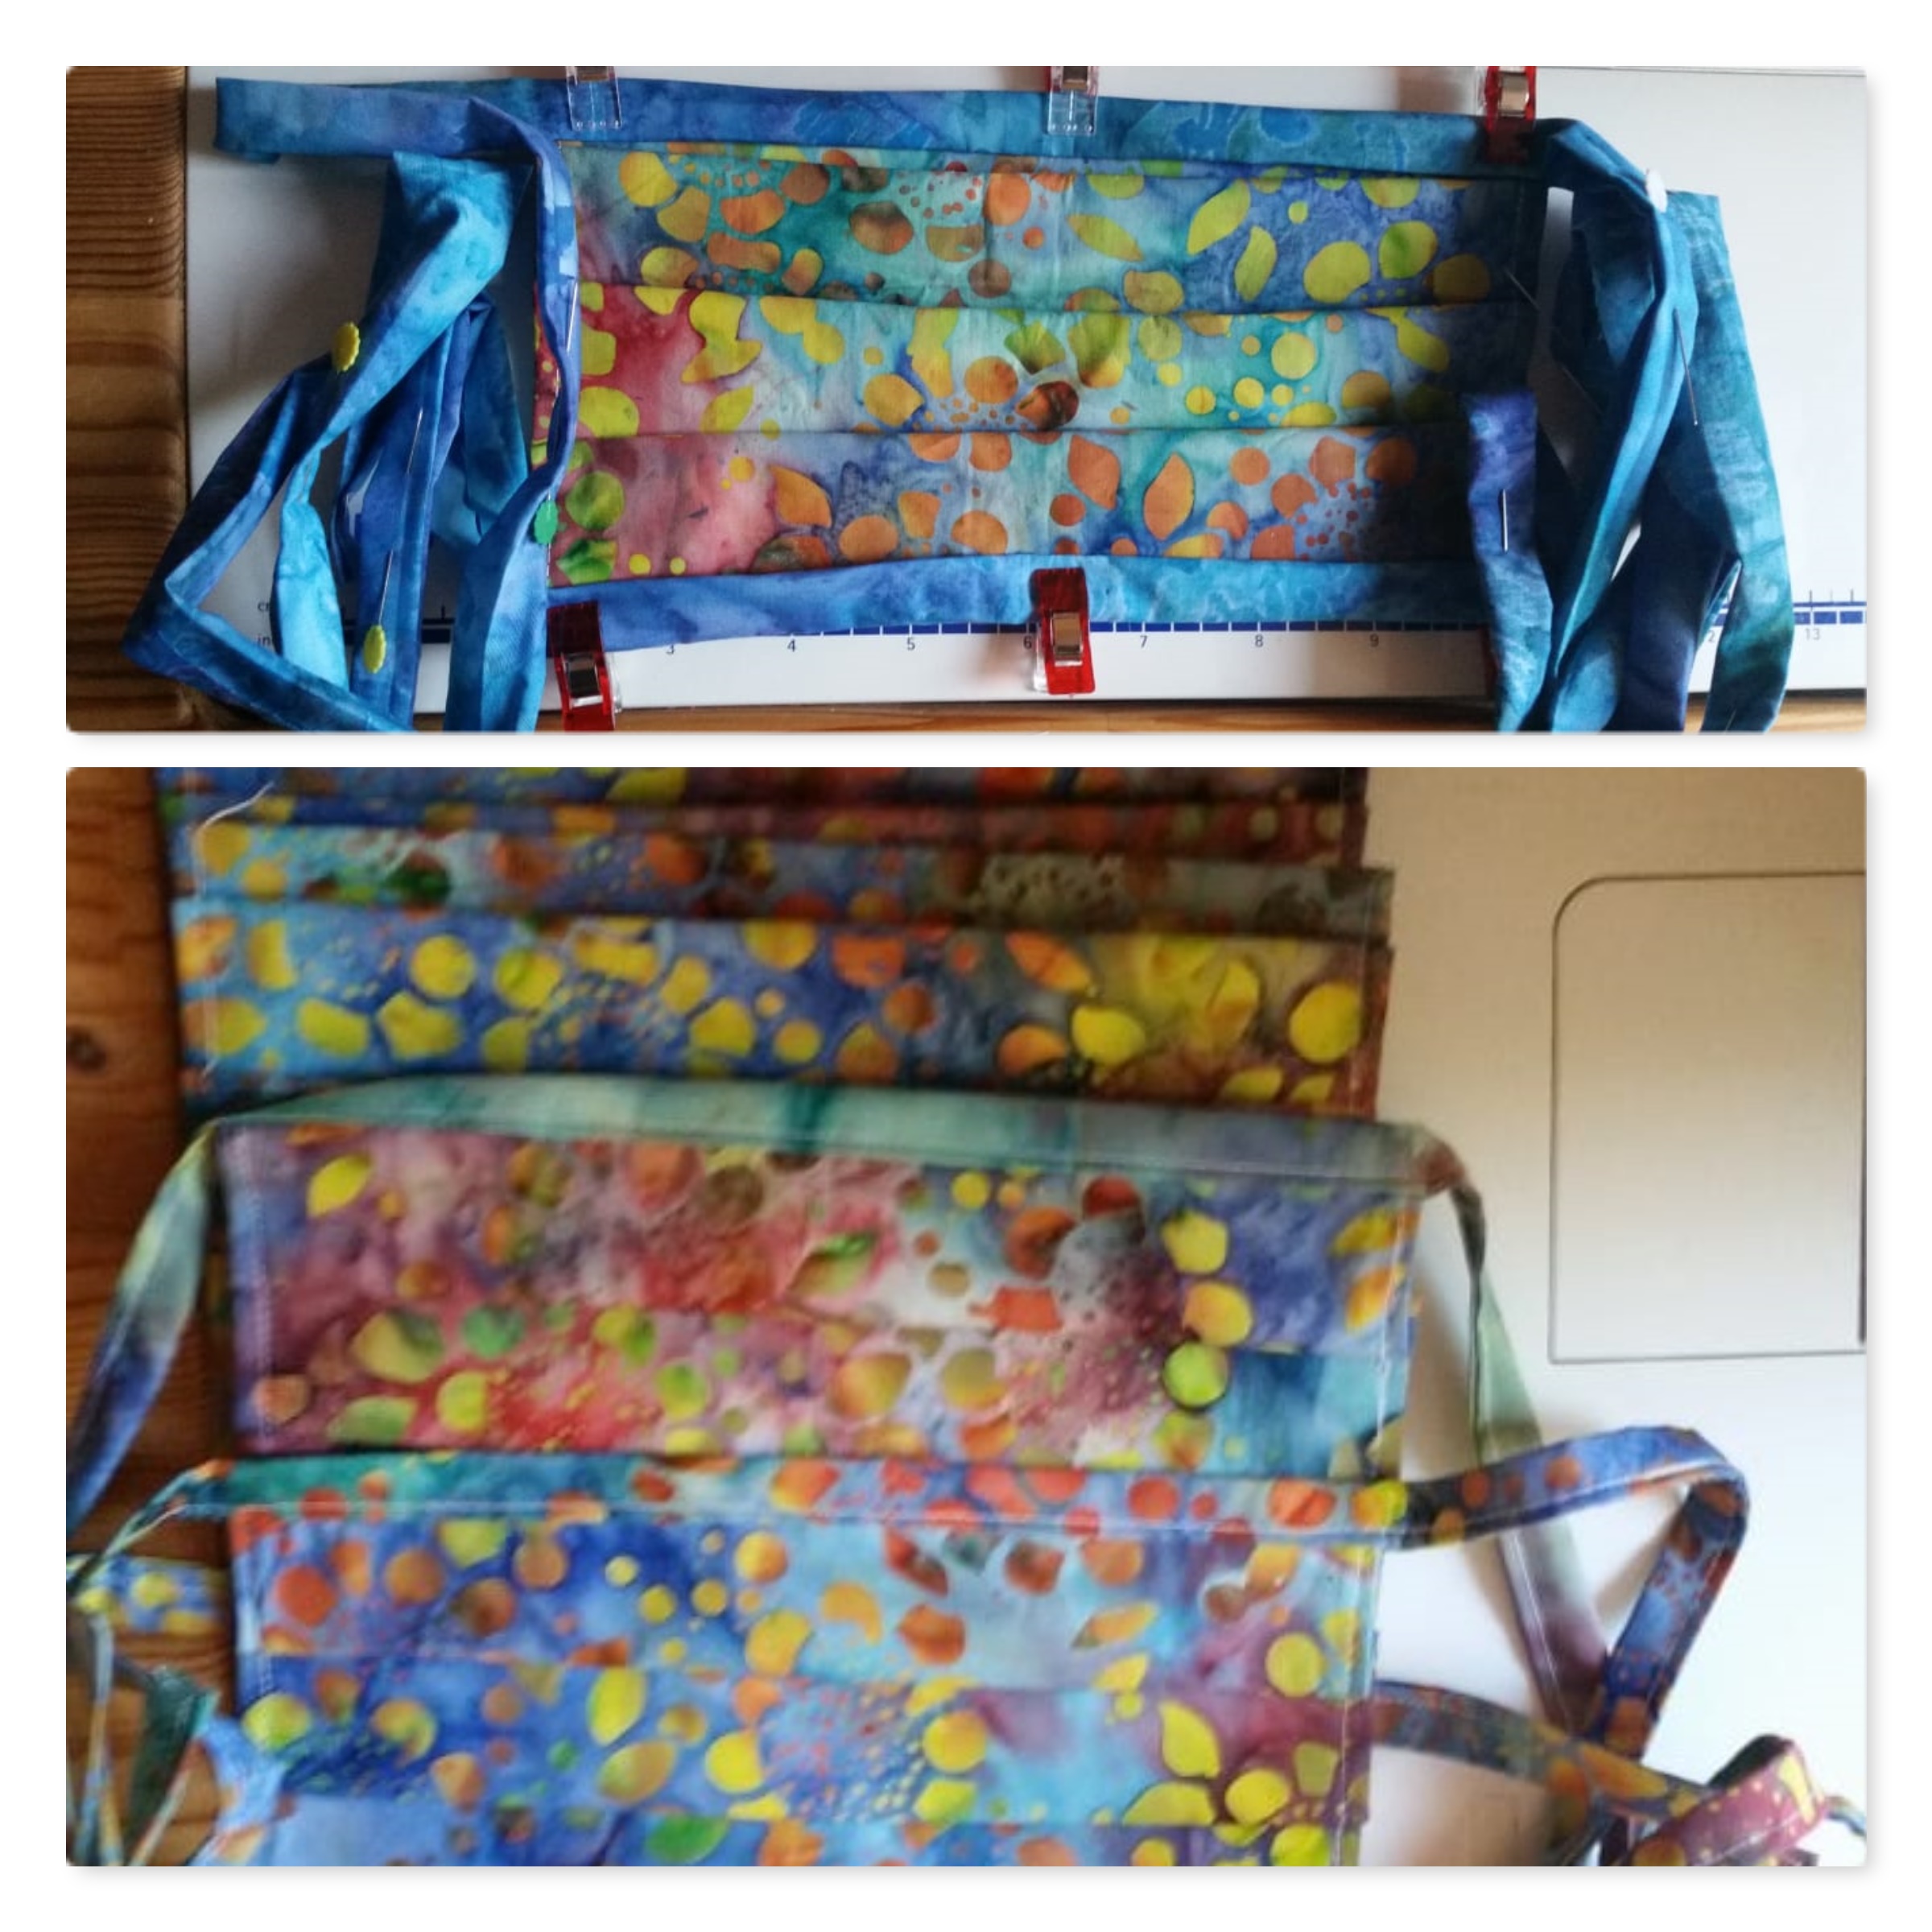
Face Masks And Partners…

I’m certain we are all up to speed with our face masks now and have made these in various shapes and sizes.

As life continues to return to normal, safety for ourselves and our families and friends become paramount – in comes the face mask partners: Sanitiser Pod – fits a 30 – 60ml sanitiser bottle and clips to bags or belt loops; mask wallet to store your extra face masks and they fit nicely in your bag.

These can all be made in fabric of choice – fabrics available on our website. Contact us for more details.

Stay safe.

Posted on

Mini Quilting Tools….

Just replenished our stock of mini quilting tools which double up as keyrings. Great with Jelly Rolls

This is especially wonderful if you love working with Jelly Rolls or precuts as it takes away the need to create your own templates and they are so easy to use as well.

Really lovely gift ideas for yourself or your favourite quilter.

Why not collect them all!!!!!!!!!

Mini Quilting Tools
Mini Quilting Tools

Posted on

Quillow – The Making of…

After making quilts and cushions, I believe the next logical progression should be a quillow which is the combination of a quilt and a pillow in one. There are 2 different schools of thought on this and will express both here.

1) Make the quilt top, add backing and wadding by laying all three pieces down, sewing round and turning the quilt to the right side through a hole. You then top stitch the hole closed. With no quilting done, add the pillow which has been made to the back of the quilt and then tie or quilt minimally your project.

2) Complete the quilt as normal – quilting the whole top and adding binding. Make the cushion cover and attach to the back of the quilt.

I prefer number 2 as the quilt is completely finished and one can decide to leave as is or add the pillow bit.

Dimensions:

To make a pillow for any quilt size, use these measurements:

Length of quilt divided by 4 e.g. 56″ / 4″ = 14″ L

Width of quilt divided by 2.5 e.g. 35″ / 2.5″ = 14″ W

Quillows can also be made un-pieced using a flannel blanket and adding a pillow to the back of it.

Quillow B
Quillow B

Quillow Front B
Quillow Front B

Quillow Back B
Quillow Back B

Quillow A
Quillow A

Quillow Front A
Quillow Front A

Quillow Back A
Quillow Back A

Quillow C
Quillow C

Quillow D
Quillow D

Quillow E
Quillow E

Quillow F
Quillow F
Posted on

End Of Term Gift Ideas…

The end of the school year is upon us again and we begin to think about gifts for teachers for all their hard work throughout the year. Well I decided to use the 10-minute quilt block method to quickly put a few things together. I have layer cakes and charm packs so there was no need to cut anything. In no time at all, I had made enough tops for my teachers. Now the hard part is quilting but the fabric is patterned in such a way that I just follow the general theme of the fabric. Here are a few pictures:

Cushion

Cushion

Cushion

Cushion

Cushion

Cushion

Cushion

Cushion

Scarf

Scarf
Posted on

I see Beauty Everywhere…

I always marvel at quilting patterns I see on quilts and wonder if I am ever able to recreate it. I am quite adventurous but I really don’t go for any difficult designs.

I have been going to my son’s school for over 4 years before I noticed a beautiful chair just by the office. It is a wooden chair and on it is a beautiful pattern. After getting over the shock of not having noticed it before, I started taking pictures of it. Of course people made fun of me but I was past caring. I knew I wanted the pattern and I knew what I wanted to do with it – a cushion.

Now I keep my eyes open wherever I go in case something catches my eye again.

Posted on

Free-Motion Quilting – Some Tips…

I’m currently working on a double bed quilt and the dimensions are 52″ x 84″. I’m making simple wave shapes on it and it’s gone faster than I anticipated. I thought I would spend 3 or 4 days quilting but it’s taken me about 2 days. I can’t wait to start out on a new project once this is completed. I have a new quilting template I would like to try out.

Here are some tips to get you started:

  1. Make sure feed dogs have been dropped or covered.
  2. Set the stitch length of your machine to zero.  This is because you will be moving the fabric yourself and the stitch length will be determined by how quickly you move the quilt sandwich underneath the machine needle and how much pressure  you apply to the foot control.
  3. Use quilt gloves or rubber gloves if you don’t have quilt gloves.  They are not necessary but I find they help me move the quilt easily.
  4. Before starting on your real quilt, make a test sandwich using the same fabric you used for your main quilt about 12″ square. Use this as a test to practice your quilt design and adjust the tension of your machine.
  5. RELAX! – shoulders down, breathe in deeply get yourself in a worry/stress free zone.
  6. If your machine has the needle-down feature, try setting it in needle-down.  This will hold your place on the quilt sandwich every time you stop. When you start up again after stopping, remember to move your sandwich forward a tiny bit so you don’t get a thread mound where you started.
  7. Lower your presser foot to begin quilting. Drop the machine needle and hold onto the top thread tail as you bring up the needle.  Gently tug on it and this will pull up the bobbin thread.  Pull at this so you have about 4 inches of thread on the top and bobbin threads and then re-drop the machine needle just next to the first hole.  Gently hold onto those threads for the first few stitches and take a series of very short stitches, just next to your first stitch.  Avoid stitching in place or you will get the much-dreaded thread blob!
  8. And there you go. You are ready to start wielding your magic on your quilt.

Happy Quilting!

Posted on

Quilt Basting Follow Up…

I finally had the opportunity to try out the Sharon Schamber method of basting and wow! I have just finished basting a double quilt and I did it sitting down. Instead of basting with a thread, I used pins and it worked great. I did not even need to take a break or stretch in the 4 hours it took me to complete the basting. This method is now a keeper for me.

You will not believe how easy and convenient it is until you actually try it. My dining table was big enough for the width of the quilt top so the excess length dangled at the other end of the table. I rolled it all up on the plank and placed batting in the middle and the rest is history. I can start quilting tomorrow which is so great.

Try it out peeps and let me know what you think.

Happy quilting.

Posted on

Basting A Quilt…

Like many quilters out there, I am always crawling on the floor or dancing round the dining table to baste my quilts. I am always looking for an easier way to get this done and a wonderful quilter from another site found this lady and her method.

She actually sits on a chair to do the basting – doesn’t that set your juices racing?

Well watch and learn…. Hope you enjoy it as much as I did.

Posted on

Quilting Frame…

I’m not sure if I mentioned this before but I got a quilting frame from Kenneth Lund recently and I have finally set it up.

Having a few issues with it at present and will be making a few modifications but I’m happy with how far I’ve progressed with setting it up.

I broke my first needle on it – annoying. Can’t seem to move the carriage smoothly. mmmmmm – will work on it soon.

Will also post pictures soon. I could not find EMT conduit so used wooden rods but these are not rigid enough so my quest continues. If anyone in the UK knows where to find EMT conduits, I will be very grateful if they can share the info. Till I sort it all out, free motion quilting will have to do. 🙂

7 months down the line and I still can’t find 0.5″ EMT conduit called thinwall in the UK. I would not advise anyone in the UK to purchase this frame unless the are absolutely sure they will find all the materials needed to complete it.

Posted on

Applique, Applique, Applique…

Just completed a quilt with appliques. Although the ‘turn under’ method is straight forward, I enjoyed the bond-a-web method. Cutting around the shapes is a bit tricky but patience and sharp small scissors is the key.

Applique QuiltApplique Quilt  

Applique Quilt Back
Applique Quilt Back

Front and back of quilt. The quilt was filled with stippling. Had fun doing that.

Quilt made with Lovely layer cake range of Moda fabric.

Posted on

Design Wall…

I hear many professional quilters talk about a design wall where one can showcase blocks and work with the colours. I decided to give it a go and bought some flannel fabric.

I put it up with cellotape – temporary measure – and arranged my blocks on it. It worked! It sure is something that should be tried out. Now I will work on making it permanent.

Design Wall
Design Wall

Posted on

Teddy Bear Quilt…

I started a teddy bear quilt a while back and completed all 9 blocks I needed for the quilt. I did not get round to completing it till last week and I used only 6 of the 9 blocks.

Below is a pictorial of the quilt.

Teddy Bear quilt block

Quilt successfully sashed and squared.

Quilt backing pieced

Quilt top, backing and batting laid out for basting.

Quilt machine quilted - free-motion quilting.
Quilt machine quilted – free-motion quilting.

Close up of top quilting

View of quilt back.
View of quilt back.

Close up of quilt back.

Close up of completed quilt.

Four blocks of completed quilt.

Full quilt with all eyes and noses present.

Back of completed quilt with label in corner.

Quilt label made from word document.

QED

Posted on

Double Wedding Ring…

You see a quilt and you fall in love with it. You determine in your mind that you will need to make one to satisfy the yearning deep within.

You embark on your project. You pick out the fabric – this takes all of 2 hours. You get home all excited and start cutting out the pieces. Then the enthusiasm dries up. You embark on other projects for another 2 to 3 weeks before you settle down again to at this precious project. You begin to put it all together and there are lots of teeny processes that can really be annoying.

Finally, 3 mnths later, you realise it is all completed. You can’t really see the beauty but you whip out that camera and take a few pictures and voila! it is there. The quilt looks beautiful. Looking at it non stop for 3 months has made the fabrics so familiar it’s all blended but through different eyes, it looks great. Judge for yourself.

DWR Front
DWR Front

DWR Back
DWR Back

DWR Label
DWR Label


Posted on

Sewing Room…

Luxury!!!!

We all dream of a space we can call our own and we sewers are the worst of all. We take over half of the house and still need more space. Well, I am thinking of moving into the garage as it seems to be the idea location for me and my ‘load’.

But – there always is a ‘but’ – the amount of work to get it sorted is frightening! I guess I have to roll up my sleeves and go for it. I really want my space where I can expand at will and not feel bad.

Finally, my dream is being realised. I have my sewing room. It’s been a year but it has been well worth the wait. The garage was finally sorted out and I have an 8ft x 15ft space to call my own.

The natural lighting is brilliant and it is also sound proof so I can blare my praise and worship songs without annoying anyone.

One of my main issues is how to fill it up. I already have tables and shelves but I need wall storage, a design wall and make it quite an effective space.

Ikea, here I come. Once I get it all sorted, will be back with more updates.

Put some stuff in and it’s filled up. Made my Ikea list and so should visit any day soon.

Here are more pics:

Studio 1
Studio 1

Studio 2
Studio 2

Studio 3
Studio 3

Still need to fit in 2 knitting machines, more bookcases for fabric and another table.

Yeepee!

Posted on

More Moda Fabric…

Lovely by Sandy Gervais, Antique Fair by Blackbird Designs, Buttercup by Fig Tree &

co, Max and Whiskers, Lily & Will II, Faith, Dragonfly Summer.

buttercup Hang Tag
buttercup Hang Tag

Dragonfly Summer hangtag

Collections-Faith Hangtag

Antique Fair hangtag

Lily & Will II hangtag

max & whiskers hangtag

Lovely hangtag
Lovely hangtag
Posted on

Moda Fabric…

Finally took the plunge. Had a wonderful time with Moda rep yesterday trying to decide what fabrics to get for my store. Not an easy task but learnt a lot from her. Will update site with fabrics as soon as I get them in. Can’t wait!!!!

Posted on

Fabric, Fabric, Fabric…

I absolutely love the United states! Wish at times it was just down the road from me and I could pop into it like I would Tesco. Every major shop in the US sells fabric but here in the UK, it is a specialised commodity. Wal-mart bought asda yet they have not transfered that aspect of Wal-mart to asda. I can’t say how many times I’ve had to travel long distances just to get fabric. I do thank God I can make the journey but then there are others who can’t and who would love to sew or quilt. People who live in the midlands or south-east (heart of Kent) live in fabric paradise. We who live around London or on the outskirts of London don’t have that sort of luxury. The few around are so expensive and the range is not impressive. How do people around Swanley source their fabric? I love the feel and smell of fabric so I don’t really like online buying. Wool for knitting is readily available but fabric is at a premium. I would love to hear from anyone who lives around Swanley on how they source their fabric for crafts. I’m even mulling the idea of opening a fabric shop in Swanley.