Posted on

Quillow – The Making of…

After making quilts and cushions, I believe the next logical progression should be a quillow which is the combination of a quilt and a pillow in one. There are 2 different schools of thought on this and will express both here.

1) Make the quilt top, add backing and wadding by laying all three pieces down, sewing round and turning the quilt to the right side through a hole. You then top stitch the hole closed. With no quilting done, add the pillow which has been made to the back of the quilt and then tie or quilt minimally your project.

2) Complete the quilt as normal – quilting the whole top and adding binding. Make the cushion cover and attach to the back of the quilt.

I prefer number 2 as the quilt is completely finished and one can decide to leave as is or add the pillow bit.

Dimensions:

To make a pillow for any quilt size, use these measurements:

Length of quilt divided by 4 e.g. 56″ / 4″ = 14″ L

Width of quilt divided by 2.5 e.g. 35″ / 2.5″ = 14″ W

Quillows can also be made un-pieced using a flannel blanket and adding a pillow to the back of it.

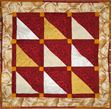
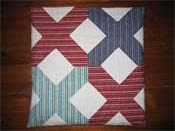
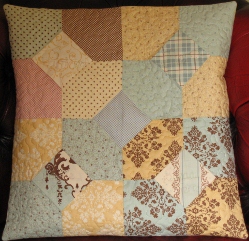
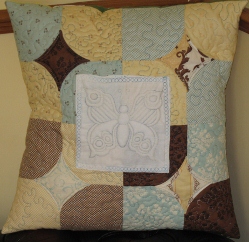
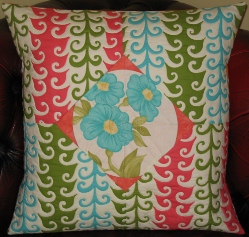
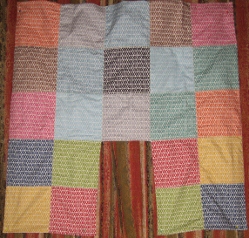
Quillow B
Quillow B

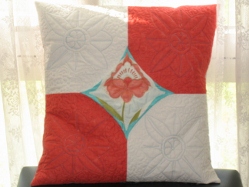
Quillow Front B
Quillow Front B

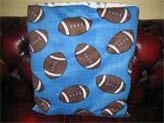
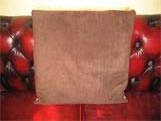
Quillow Back B
Quillow Back B

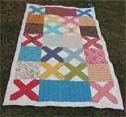
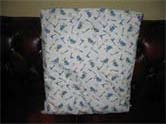
Quillow A
Quillow A

Quillow Front A
Quillow Front A

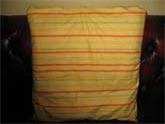
Quillow Back A
Quillow Back A

Quillow C
Quillow C

Quillow D
Quillow D

Quillow E
Quillow E

Quillow F
Quillow F
Posted on

End Of Term Gift Ideas…

The end of the school year is upon us again and we begin to think about gifts for teachers for all their hard work throughout the year. Well I decided to use the 10-minute quilt block method to quickly put a few things together. I have layer cakes and charm packs so there was no need to cut anything. In no time at all, I had made enough tops for my teachers. Now the hard part is quilting but the fabric is patterned in such a way that I just follow the general theme of the fabric. Here are a few pictures:

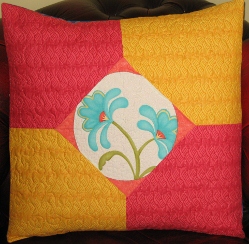
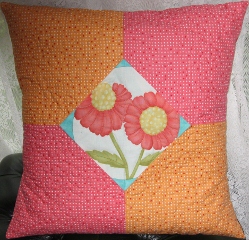
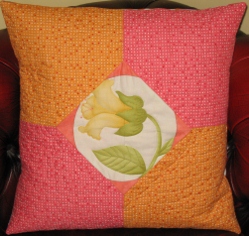
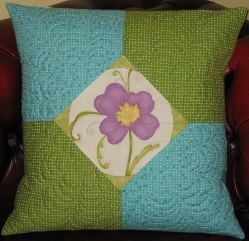
Cushion

Cushion

Cushion

Cushion

Cushion

Cushion

Cushion

Cushion

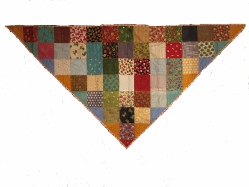
Scarf

Scarf
Posted on

I see Beauty Everywhere…

I always marvel at quilting patterns I see on quilts and wonder if I am ever able to recreate it. I am quite adventurous but I really don’t go for any difficult designs.

I have been going to my son’s school for over 4 years before I noticed a beautiful chair just by the office. It is a wooden chair and on it is a beautiful pattern. After getting over the shock of not having noticed it before, I started taking pictures of it. Of course people made fun of me but I was past caring. I knew I wanted the pattern and I knew what I wanted to do with it – a cushion.

Now I keep my eyes open wherever I go in case something catches my eye again.

Posted on

Free-Motion Quilting – Some Tips…

I’m currently working on a double bed quilt and the dimensions are 52″ x 84″. I’m making simple wave shapes on it and it’s gone faster than I anticipated. I thought I would spend 3 or 4 days quilting but it’s taken me about 2 days. I can’t wait to start out on a new project once this is completed. I have a new quilting template I would like to try out.

Here are some tips to get you started:

  1. Make sure feed dogs have been dropped or covered.
  2. Set the stitch length of your machine to zero.  This is because you will be moving the fabric yourself and the stitch length will be determined by how quickly you move the quilt sandwich underneath the machine needle and how much pressure  you apply to the foot control.
  3. Use quilt gloves or rubber gloves if you don’t have quilt gloves.  They are not necessary but I find they help me move the quilt easily.
  4. Before starting on your real quilt, make a test sandwich using the same fabric you used for your main quilt about 12″ square. Use this as a test to practice your quilt design and adjust the tension of your machine.
  5. RELAX! – shoulders down, breathe in deeply get yourself in a worry/stress free zone.
  6. If your machine has the needle-down feature, try setting it in needle-down.  This will hold your place on the quilt sandwich every time you stop. When you start up again after stopping, remember to move your sandwich forward a tiny bit so you don’t get a thread mound where you started.
  7. Lower your presser foot to begin quilting. Drop the machine needle and hold onto the top thread tail as you bring up the needle.  Gently tug on it and this will pull up the bobbin thread.  Pull at this so you have about 4 inches of thread on the top and bobbin threads and then re-drop the machine needle just next to the first hole.  Gently hold onto those threads for the first few stitches and take a series of very short stitches, just next to your first stitch.  Avoid stitching in place or you will get the much-dreaded thread blob!
  8. And there you go. You are ready to start wielding your magic on your quilt.

Happy Quilting!

Posted on

Quilt Basting Follow Up…

I finally had the opportunity to try out the Sharon Schamber method of basting and wow! I have just finished basting a double quilt and I did it sitting down. Instead of basting with a thread, I used pins and it worked great. I did not even need to take a break or stretch in the 4 hours it took me to complete the basting. This method is now a keeper for me.

You will not believe how easy and convenient it is until you actually try it. My dining table was big enough for the width of the quilt top so the excess length dangled at the other end of the table. I rolled it all up on the plank and placed batting in the middle and the rest is history. I can start quilting tomorrow which is so great.

Try it out peeps and let me know what you think.

Happy quilting.

Posted on

Basting A Quilt…

Like many quilters out there, I am always crawling on the floor or dancing round the dining table to baste my quilts. I am always looking for an easier way to get this done and a wonderful quilter from another site found this lady and her method.

She actually sits on a chair to do the basting – doesn’t that set your juices racing?

Well watch and learn…. Hope you enjoy it as much as I did.